
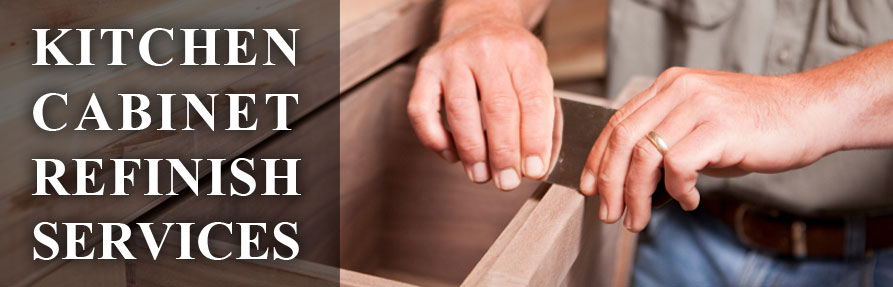


You’ve just had your kitchen cabinets refinished and are impressed with the results. Until you find a nick in the finish or a drawer that refuses to come unstuck. By now you know that you can always call the experts at LE Furniture Repair for help—but if you’re in a pinch, and need a quick fix, here is what we suggest.
DIY: KITCHEN CABINET REPAIR
Nix Nicks and Scratches
Don’t let a few superficial scratches ruin your day. They are easily fixed with a stain-filled touch-up marker. Simply dab a pea-sized amount of stain onto the blemish and wipe off the rest. But keep in mind that nicks and scratches can absorb excess stain, making it darker than the rest of the finish. For best results, start with a shade lighter than your cabinet finish, and go darker if necessary. If you are filling a deeper scratch, than opt for a filler pencil instead—as it both fills and stains the spot.
Silence Slamming Doors
If it constantly sounds like you are taking your frustration out on your cabinet doors, than peel-and-stick door and drawer bumpers are your answer. Simply peel and stick to the top and bottom corners of the doors for quieter closings.
Sticky Drawers
Few things are more annoying than a drawer that won’t open. Luckily, it doesn’t take much to make it come unstuck. Just remove the drawer, clean the tracks, and spray with a lubricant like WD-40. Lubricate the rollers too, and your drawers will be good to go!


